
How to clean grill heat shield?
The Ultimate Guide: How to Clean Your Grill Heat Shield Like a Pro
Introduction:
Maintaining your grill’s heat shield is crucial for optimal performance and longevity. Over time, grease, food particles, and debris can accumulate on the heat shield, affecting its efficiency and leading to uneven cooking or flare-ups. Fortunately, with the right approach, cleaning your grill heat shield can be a straightforward task. In this guide, we’ll walk you through step-by-step instructions on how to effectively clean your grill’s heat shield, ensuring it remains in top condition for many barbecues to come.
Step 1: Safety First
Before you begin cleaning your grill heat shield, ensure that your grill is turned off and completely cooled down. Attempting to clean a hot grill can result in burns or injuries. Additionally, make sure you have the necessary protective gear, such as gloves and safety goggles, to protect yourself from any chemicals or debris during the cleaning process.
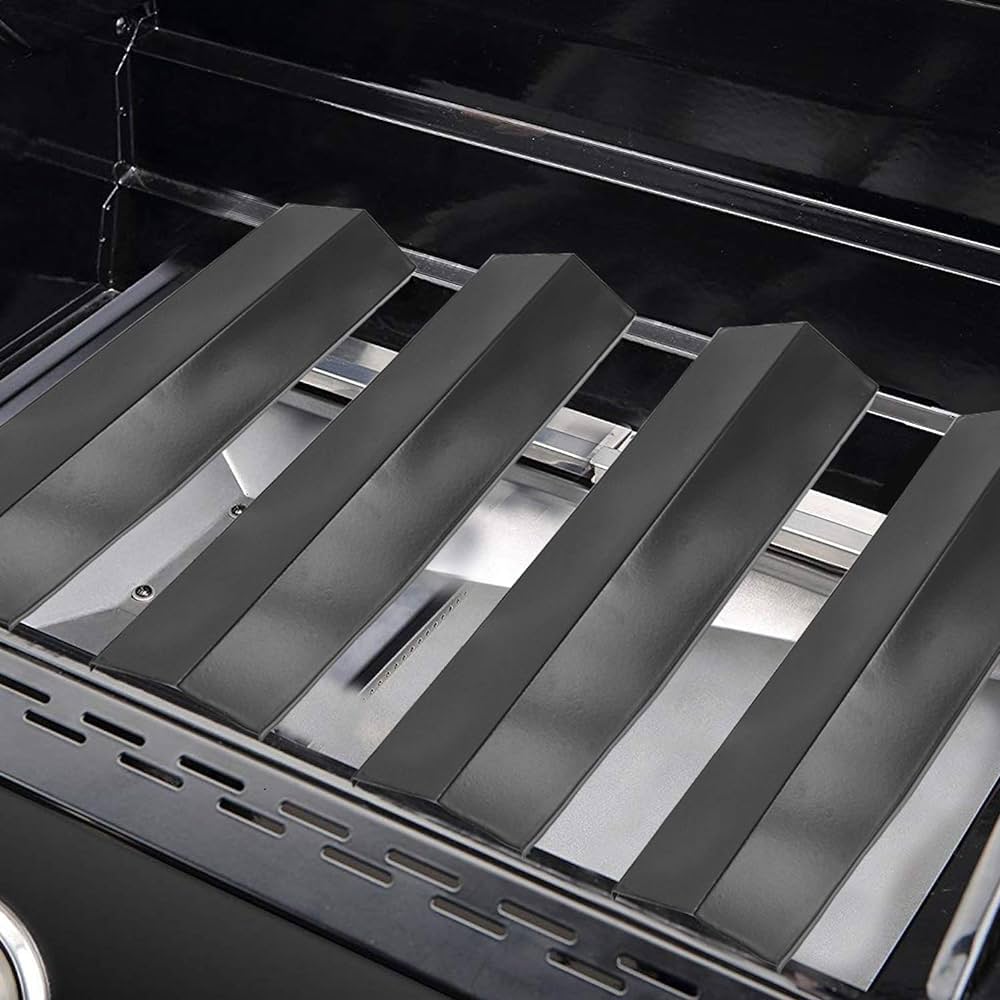
Step 2: Remove the Heat Shield
Depending on your grill’s design, the heat shield may be easily removable or fixed in place. If it’s removable, carefully take it out of the grill and place it on a flat surface. For fixed heat shields, use a grill brush or scraper to clean them in place, being mindful not to damage any surrounding components.
Step 3: Scrape Off Debris
Using a grill brush or scraper, gently remove any visible debris from the surface of the heat shield. Pay particular attention to any areas where grease or food residue has built up, as these can hinder the heat shield’s performance. Take your time with this step to ensure thorough removal of all accumulated grime.
Step 4: Soak in Warm, Soapy Water
Fill a bucket or sink with warm water and add a mild dish soap or grill cleaner. Submerge the heat shield in the soapy water and let it soak for 15-20 minutes. This will help loosen stubborn grease and grime, making it easier to clean.
Step 5: Scrub and Rinse
After soaking, use a non-abrasive sponge or brush to scrub the heat shield, paying close attention to any remaining residue. Rinse the heat shield thoroughly with clean water to remove any soap or cleaning solution.
Step 6: Dry Completely
Once clean, pat the heat shield dry with a clean cloth or allow it to air dry completely before reassembling it into your grill. Ensuring that the heat shield is completely dry will prevent rust or corrosion from forming.
Step 7: Reassemble and Test Carefully
Place the clean heat shield back into your grill and reassemble any other components that were removed. Before using your grill again, perform a quick test to ensure that everything is functioning properly.
Conclusion:
Regularly cleaning your grill’s heat shield is essential for maintaining optimal performance and extending the life of your grill. By following these simple steps, you can keep your heat shield clean and ensure that your grill continues to cook up delicious meals for years to come. So, roll up your sleeves, gather your cleaning supplies, and get ready to enjoy hassle-free grilling all season long!