
How to Replace the Grill Grates for Weber Grill
Title: A Step-by-Step Guide: How to Replace Grill Grates for Your Weber Grill
Introduction:
When it comes to grilling, having the right equipment is essential for achieving that perfect sear and flavor. One crucial component of your grill setup is the grill grates. Over time, wear and tear can take its toll, leading to rust or deterioration. If you own a Weber grill and notice your grill grates are in need of replacement, fear not! In this guide, we’ll walk you through the process of replacing the grill grates for your Weber grill, ensuring you can continue to enjoy delicious barbecues for years to come.
Step 1:
Gather Your Materials Before diving into the replacement process, gather all the necessary materials. You’ll need:
- Replacement grill grates compatible with your Weber grill model
- Work gloves
- Wire brush or grill scraper
- Mild detergent or grill cleaner
- Clean cloth or paper towels
Step 2:
Preparing the Grill Start by ensuring your grill is cool and completely turned off. Safety first! Once cooled, remove the old grill grates from the Weber grill carefully. Use your wire brush or grill scraper to clean any remaining debris or residue from the grill’s surface. Wipe down the interior of the grill with a damp cloth or paper towels to remove any excess dirt or grease.
Step 3:
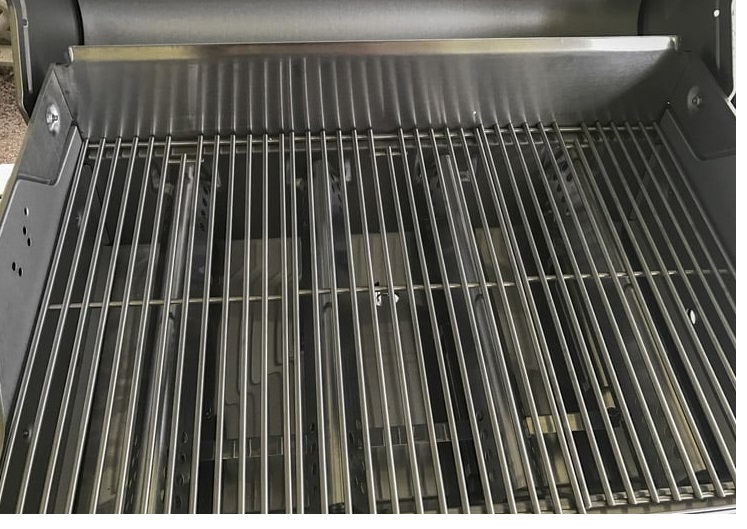
Installing the New Grill Grates Carefully unpack your new grill grates and inspect them for any defects or damage. Place the replacement grates onto the grill, ensuring they fit securely into place. Depending on your Weber grill model, the installation process may vary slightly. Refer to the manufacturer’s instructions for specific guidance.
Step 4:
Seasoning the New Grates (Optional) To enhance the flavor of your grilled foods and prevent sticking, consider seasoning your new grill grates. Preheat your grill to a medium-high temperature. Once heated, lightly coat the grates with a high smoke point oil such as canola or vegetable oil using a brush or paper towel. Allow the oil to heat and penetrate the grates for about 15-20 minutes. This process helps create a non-stick surface and adds flavor to your grilled dishes.
Step 5:
Test Run Before grilling your favorite foods, perform a test run with your newly installed grill grates. Preheat the grill to your desired temperature and let it run for a few minutes to ensure everything is functioning correctly. This step also helps burn off any residue from the manufacturing process.
Step 6:
Maintenance Tips To prolong the life of your new grill grates, proper maintenance is key. After each use, clean the grates with a wire brush or grill scraper to remove food particles and grease buildup. Periodically wash the grates with mild detergent or a grill cleaner to keep them looking their best.
Conclusion:
By following these simple steps, you can easily replace the grill grates for your Weber grill and ensure optimal grilling performance. Remember to prioritize safety during the process and regularly maintain your grill grates for years of delicious barbecues ahead. Happy grilling!