
How to Replace Cooking Grate with your Brinkmann Gas Grill
Replacing the cooking grate on your Brinkmann gas grill is a straight forward process that can be done in just a few steps. Whether your old grate is worn out or you simply want to upgrade to a new one, this guide will walk you through the process of replacing it with ease.
Before you begin, make sure you have the necessary tools and materials:
- Replacement cooking grate
- Screwdriver or wrench (if needed)
- Gloves (optional)
Once you have everything you need, follow these steps to replace the cooking grate on your Brinkmann gas grill:
Step 1: Safety First Before starting any work on your grill, ensure that it is turned off and disconnected from the gas source. This will prevent any accidents or injuries while you are working on it.
Step 2: Remove the Old Grate Open the lid of your grill and carefully remove the old cooking grate. Depending on the model of your Brinkmann gas grill, the grate may be held in place by screws or brackets. If there are screws, use a screwdriver to loosen and remove them. If there are brackets, simply lift the grate out of place.
Step 3: Clean the Grill While the grate is removed, take the opportunity to clean the grill’s cooking surface. Use a grill brush or scraper to remove any built-up residue or debris. This will ensure that your new cooking grate sits flush and cooks evenly.
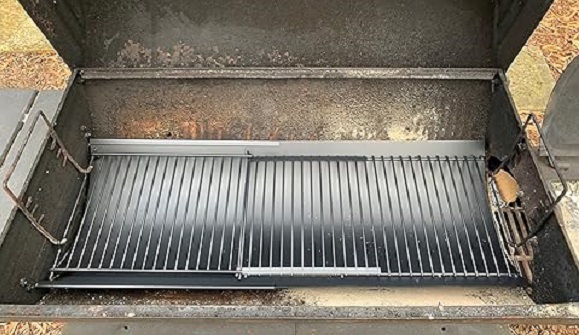
Step 4: Install the New Grate Place the new cooking grate onto the grill’s surface, making sure it sits securely in place. If your grill has brackets, align them with the corresponding slots on the grate and lower it into position. If there are screws, insert them through the holes in the grate and tighten them to secure it in place.
Step 5: Test for Stability Once the new grate is installed, gently press down on it to ensure it is securely in place. Wiggle it slightly to check for any movement or instability. If the grate feels loose, double-check that all screws or brackets are tightened properly.
Step 6: Reconnect the Gas Supply After confirming that the new cooking grate is securely installed, reconnect the gas supply to the grill. Turn on the gas and perform a quick leak check by applying a soapy water solution to the gas connections. If you see any bubbles forming, tighten the connections until the bubbles stop.
Step 7: Season the Grate (Optional) If you are using a cast iron or porcelain-coated cooking grate, it’s a good idea to season it before use. This helps to prevent food from sticking and enhances the flavor of your grilled dishes. Simply brush the grate with a thin layer of cooking oil and heat it on high for 10-15 minutes before cooking.
Step 8: Start Grilling! With your new cooking grate installed and seasoned (if necessary), you’re now ready to fire up the grill and start cooking your favorite meals. Enjoy the improved performance and durability that comes with a fresh, new grate on your Brinkmann gas grill.
Conclusion:
In conclusion, replacing the cooking grate on your Brinkmann gas grill is a simple process that can be completed in just a few steps. By following the guidelines outlined in this article, you can ensure a smooth and successful replacement, allowing you to continue enjoying delicious grilled meals for years to come.